


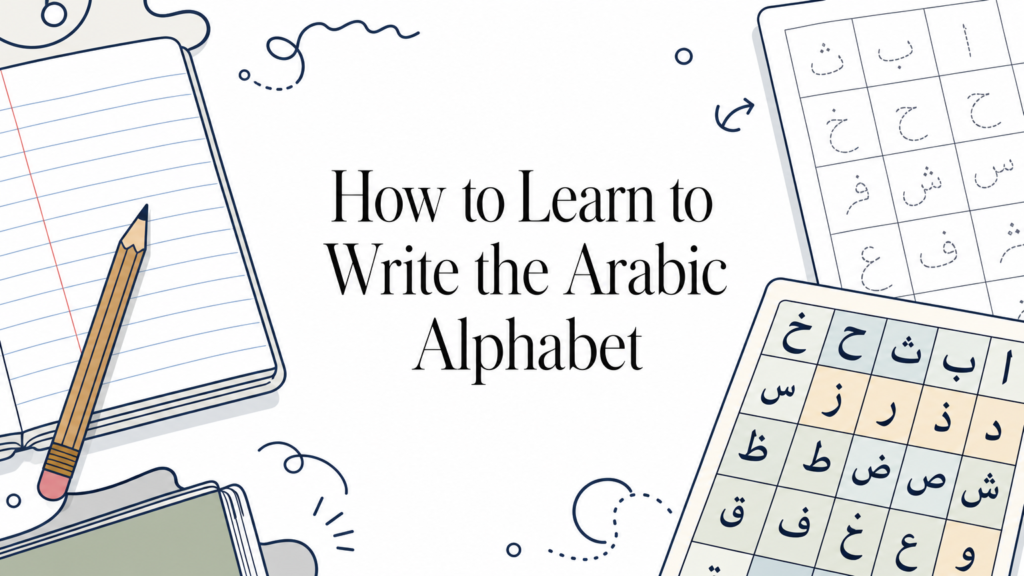
Staring at a page of Arabic letters for the first time feels overwhelming. The script runs right to left, letters change shape depending on where they sit in a word, and nothing looks like the alphabet you grew up with. If you want to learn to write the arabic alphabet without getting stuck memorizing random shapes, you need a system, not just a chart to copy.
The fastest way to build real handwriting skill is to pair letter recognition with sound, then practice connecting letters the way they actually appear in words. That means learning each letter’s isolated, initial, medial, and final forms from day one, not as an afterthought. Skip this step and you’ll read fine but write like a beginner for months longer than necessary.
This guide walks you through the whole process: understanding the 28 letters and their sounds, tracing and forming each shape correctly, joining letters into words, and building daily practice habits that stick. Whether you’re starting fresh or fixing sloppy handwriting habits, you’ll find a clear path here, and if you’d rather have a qualified teacher correct your strokes in real time, that guided support is exactly what live one-to-one lessons with qualified teachers are built for.
What you need before you start writing Arabic
Before you trace a single letter, get your basics sorted, the same groundwork any beginner guide to learning Arabic online starts with. Rushing into letter shapes without the right setup is why so many beginners quit after two weeks. You don’t need much, but what you do need matters more than most people expect when they learn to write the arabic alphabet for the first time.
The right tools for practice
Grab a notebook with wide-ruled or graph lines, since Arabic letters sit on a baseline and dip below it more than Latin script does. A pencil works better than a pen at first because you’ll erase constantly while your hand learns new motor patterns. Many students also print free Arabic tracing sheets, which show dotted letter outlines with directional arrows.


Here’s a simple starter kit:
- Notebook with baseline-friendly ruling (graph paper works well)
- Pencil with a soft eraser
- Printed tracing sheets for each of the 28 letters
- A reference chart showing isolated, initial, medial, and final forms
- A mirror or phone camera to check your pen grip and hand angle
Understanding right-to-left direction
Arabic reads and writes from right to left, which flips your entire approach to page layout and stroke direction. You start each line on the right margin and each letter typically begins with a stroke that moves rightward or downward before curving left. This single detail trips up almost every English-speaking beginner in the first week, so practice it deliberately rather than assuming it’ll click on its own.
Getting the right-to-left direction right from day one saves you weeks of relearning bad habits later.
Setting realistic expectations
Give yourself 15 to 20 minutes a day rather than one long weekend session. Handwriting is muscle memory, and muscle memory builds through repetition spread over time, not cramming. Most learners who commit to short daily sessions can write recognizable letters within two to three weeks and connect them into simple words within six to eight weeks.
Know also that mistakes are part of the process. Wobbly curves and inconsistent letter height are normal at first, even for people who’ve studied other scripts before. If you want faster correction of bad habits, a live teacher watching your strokes in real time catches errors that self-study misses, which is exactly the kind of feedback built into one-on-one lessons at Quranytime Academy.
Step 1. Learn the 28 Arabic letters and their sounds

Start with your ears, not just your eyes. Every Arabic letter carries a specific sound, and some of those sounds that give English speakers real trouble don’t exist in English at all, like the throaty ع (ayn) or the emphatic ص (saad). Trying to skip straight to handwriting without nailing pronunciation first is a common mistake, because you’ll end up writing letters you can’t actually recognize by sound later. When you learn how to write arabic alphabet shapes, tie each one to its correct pronunciation from the very first lesson, the way a full Arabic alphabet letters and reading guide lays it out.
Group letters by shape family
Organize your study by shared shapes rather than alphabetical order. Several letters look almost identical except for the number and placement of dots above or below the base shape.
| Base shape | Letters | Sound difference |
|---|---|---|
| ب ت ث | ba, ta, tha | Dot position changes the sound |
| ج ح خ | jeem, ha, kha | Same curve, different dots |
| د ذ | dal, thal | One dot separates them |
| ر ز | ra, zay | One dot on top of zay |
Learning letters by shape family cuts memorization time roughly in half compared to studying them in random order.
Practice recognition before writing
Before you pick up a pencil for real handwriting drills, spend a few days just naming letters aloud from flashcards or a printed chart. Recognition speed matters because slow reading leads to hesitant, shaky writing later. Once you can name all 28 letters within a couple of seconds each without pausing, you’re ready to move on to how those shapes actually change inside a word.
Step 2. Master the four letter forms
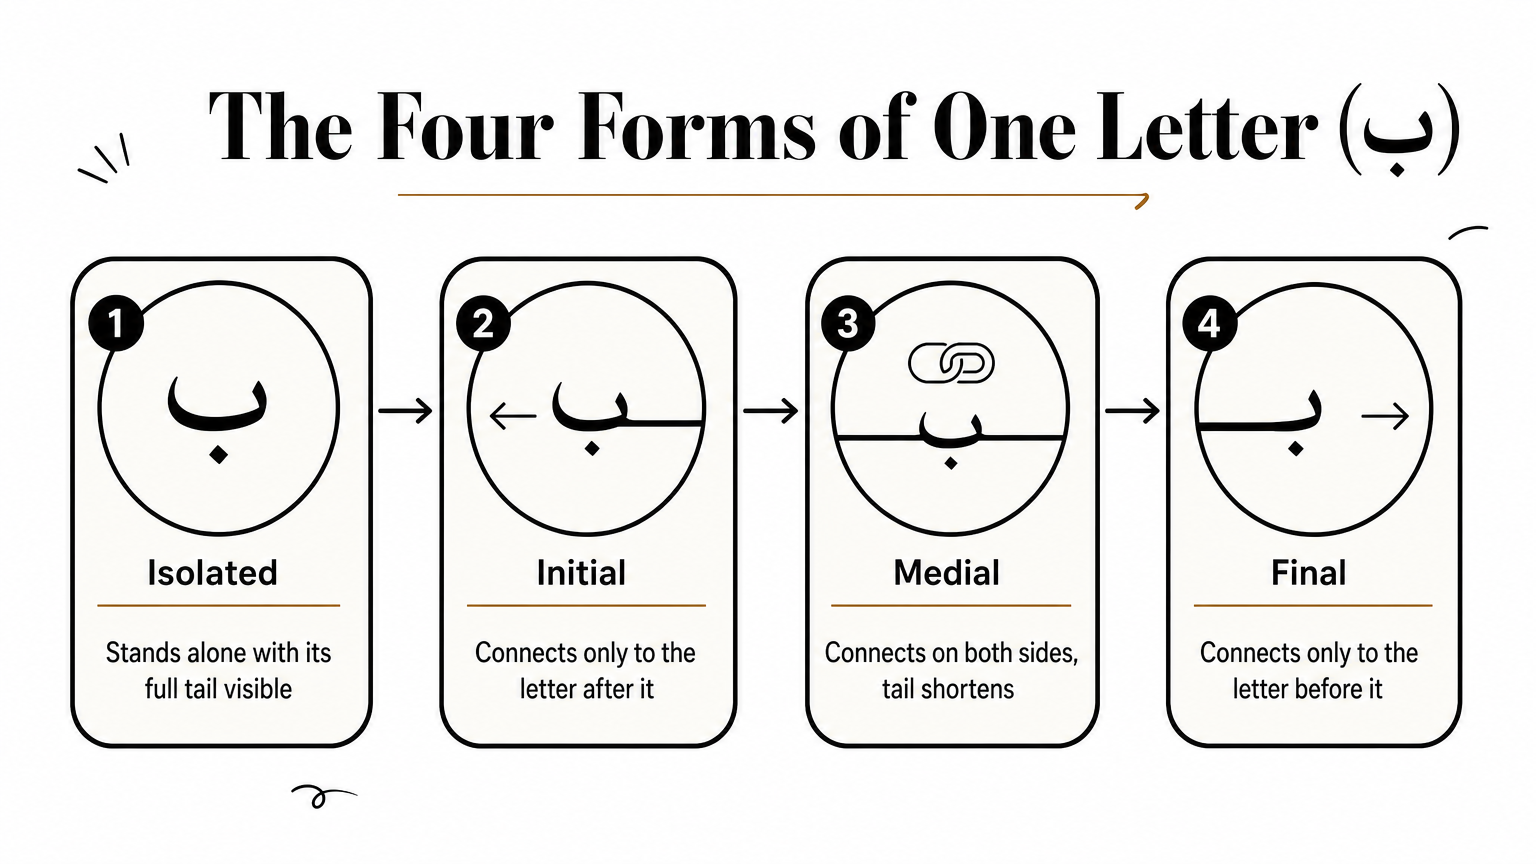
Every Arabic letter changes shape depending on its position in a word, and this is where most beginners hit their first real wall. A single letter can look like four different characters: alone, at the start of a word, in the middle, and at the end. Ignore this step and you’ll learn and write the arabic alphabet in isolation only, then freeze the moment you try to read or write a real sentence.
See the pattern with one letter
Take the letter ba (ب) as your example, since its four forms show the pattern clearly without much visual clutter.
| Position | Form | Notes |
|---|---|---|
| Isolated | ب | Stands alone, full tail visible |
| Initial | بـ | Connects only to the letter after it |
| Medial | ـبـ | Connects on both sides, tail shortens |
| Final | ـب | Connects only to the letter before it |
Notice the dot stays fixed underneath in every version. Only the body of the letter stretches or shrinks to make room for its neighbors.
Once you can spot how a letter’s body changes while its dots stay put, the whole alphabet stops looking random.
Drill forms in short sets
Rather than tackling all 28 letters at once, drill five letters a day across their four forms until your hand recognizes the shift automatically. Write each form six or seven times in a row, saying the letter name aloud as you write it. Testing yourself matters here too: cover the chart and try writing all four forms from memory before checking your work. This single habit separates learners who read fluently but write hesitantly from those who write with confidence.
Step 3. Add vowel marks and diacritics
Once you can write the 28 letters in all four positions, you’re only reading half the picture. Arabic script normally prints without short vowels, but beginners need them to sound out words correctly, and religious texts like the Quran always include them, one of several points where Quranic Arabic and everyday written Arabic differ. These small marks, called harakat, sit above or below the letter and tell you exactly which vowel sound follows the consonant. Skip this step and you’ll write consonant skeletons that even native readers struggle to pronounce aloud.

Learn the three short vowels first
Start with fatha, kasra, and damma, since these three marks cover the bulk of everyday reading and writing.
| Mark | Name | Placement | Sound |
|—|—|—|
| ـَ | Fatha | Above the letter | Short "a" |
| ـِ | Kasra | Below the letter | Short "i" |
| ـُ | Damma | Above the letter | Short "u" |
Practice writing one consonant with all three marks in a row, like ب with fatha, then kasra, then damma, saying the sound out loud each time.
A letter without its vowel mark is only half a word.
Add sukoon and shadda for accuracy
Sukoon, a small circle above a letter, means no vowel follows, which matters for correct rhythm when you read aloud. Shadda, a small w-shaped mark, doubles a consonant’s sound and changes pronunciation timing. Together these marks round out what you need to learn to write the Arabic alphabet with real accuracy rather than guesswork. Practice tracing sentences with full diacritics daily, since this habit builds the reading fluency your handwriting depends on.
Step 4. Practice handwriting and connect letters
Now that you know the letters, their four forms, and the vowel marks, it’s time to bring it all together on paper. This is where isolated letter drills turn into actual handwriting, and where connecting letters into real words becomes the daily habit that improves your Arabic writing skills and separates a slow copier from someone who can actually learn to write the arabic alphabet with confidence rather than just recognize it.
Chain letters into real words
Pick a short, common word and write it letter by letter before joining the connections. Take the word "kitab" (book): ك ت ا ب becomes كتاب once you link the initial, medial, and final forms correctly.
| Step | What you write | Why it matters |
|---|---|---|
| 1 | ك (initial) | Starts the connection line |
| 2 | ـتـ (medial) | Bridges two neighbors |
| 3 | ا (final, non-connecting) | Alif never joins to the letter after it |
| 4 | ـب (final) | Completes the word |
Notice that alif is one of six letters that never connect forward, so the word naturally splits into short segments even mid-word, which is normal and not a mistake on your part.
Writing whole words, not isolated letters, is what actually trains your hand to read and write fluently.
Build a daily connecting routine
Copy five short words a day from a beginner reader, a word list, or an interactive Arabic reading guide with teacher audio, saying each syllable aloud as you write it. Slowly increase to full short phrases once single words start to feel automatic under your pencil. Try this simple weekly checklist to stay consistent:
- Day 1-2: copy isolated letters in all four forms
- Day 3-4: copy five two-letter words
- Day 5-6: copy five three-letter words with vowel marks
- Day 7: write one short phrase from memory
Unless your loops keep breaking or slanting inconsistently, in which case a live teacher watching your notebook in real time can correct that faster than any app, which is exactly the personalized feedback built into Quranytime Academy’s one-on-one Arabic classes.
Where to go from here
You now have the full roadmap: tools and mindset, the 28 letters and their sounds, the four positional forms, vowel marks, and the daily practice that turns shapes into real handwriting. None of this requires talent, just consistent repetition and someone to catch your mistakes before they become habits. Self-study gets you far, but a workbook can’t hear your pronunciation or watch your pencil grip.
That gap is exactly why so many learners eventually bring in a teacher. If you’ve worked through this guide and want honest feedback on where your strokes and sounds still need work, a guided starting point beats guessing every time. Quranytime Academy’s free trial assessment class matches you with a qualified, Al-Azhar-trained teacher who evaluates your current level and builds a learning path around it, whether that’s Arabic writing, Tajweed, or full Quran memorization. Book your session and get real correction, not just another chart to copy.